


A big black screen sitting in the middle of your living room can throw off the whole look of the space. Hiding it feels impossible without spending a fortune.
A TV lift cabinet IKEA build solves this problem for a fraction of custom furniture prices. Regular IKEA pieces can hide a TV completely when it’s not in use.
After testing a few lift mechanisms across different cabinet styles, the right combination makes a real difference in how smooth and sturdy the final setup feels.
The best IKEA cabinets for the job, step-by-step build instructions, required materials, and key factors to check before starting your own project come next.
What is an IKEA TV lift cabinet?
An IKEA TV lift cabinet combines regular IKEA furniture with a separate motorized lift mechanism. IKEA does not sell this as a finished product, so builders create it by modifying an existing cabinet.
The lift mechanism sits inside the cabinet and holds the TV on a moving platform. When not needed, the TV lowers completely out of sight, leaving a clean, empty-looking surface.
Pressing a remote or switch raises the platform, bringing the TV up to viewing height. The motor controls the speed, so the movement stays smooth and controlled every single time.
A custom-built lift cabinet is designed from scratch, while a TV lift cabinet IKEA hack repurposes existing furniture like BESTÅ or IVAR with reinforcement and cutouts.
Key technical considerations for the hack
A successful TV lift hack depends on getting a few technical details right before cutting into any cabinet.
Depth, lid mechanism, structural support, and ventilation each directly affect how the finished cabinet performs.
Depth and clearance: Most flat-screen t vs paired with a motorized lift require an internal cabinet depth of at least 6.5 to 8 inches (165mm to 200mm), so confirm the IKEA piece fits both the TV and mounting brackets.
The lid mechanism: A floating lid attaches the cut countertop piece directly to the lift column, while a hinged lid uses piano hinges with a roller bracket that pushes the flap open as the lift rises.
Structural reinforcement: IKEA furniture often relies on particleboard, so attach a thick sheet of 3/4-inch plywood to the base or rear wall to anchor the motor column securely.
Ventilation and wire management: Cutting sections out of the back panel keeps wires organized, gives direct access to wall outlets, and improves airflow around the enclosed tv and media components.
Materials and tools needed for an IKEA TV lift hack
Some materials handle structural support while others manage movement and mounting. Knowing what each piece does helps builders plan measurements and avoid costly installation mistakes:
Main components
IKEA cabinet or storage system
Motorized TV lift mechanism
Mounting brackets
Reinforcement materials
Hinges or lifting panels
Common tools
Drill
Saw
Measuring tools
Screwdriver
Woodworking tools
How to build an IKEA TV lift cabinet
Each IKEA cabinet needs a slightly different hacking approach, so choosing the right base is the first real step toward a working IKEA TV lift cabinet build.
1. IVAR cabinet hack

Depth Required: 7 to 8 inches | IKEA Products to Use: IVAR cabinet, plywood reinforcement, lift mechanism |
Estimated Cost: $250 to $450 | Best For: Rustic or farmhouse-style rooms |
IVAR‘s solid wood frame makes it one of the sturdiest bases for a DIY TV lift build. Its open shelving design also gives builders more room to work with during modification.
Remove one fixed shelf to create space for the lift column and platform.
Reinforce the base with a plywood sheet before mounting the mechanism.
Cut a matching opening in the top shelf and secure the lift bracket into the reinforced base.
2. BESTÅ cabinet hack

Depth Required: 6.5 to 7.5 inches | IKEA Products to Use: BESTÅ cabinet, floating or hinged lid, lift mechanism |
Estimated Cost: $300 to $500 | Best For: Modern or minimalist living rooms |
BESTÅ offers a sleek, media-cabinet look, but its shallower depth means careful measuring matters more here than with other options. Getting the clearance right avoids fitting issues later.
Remove the back panel and internal shelving to clear space for the lift mechanism.
Cut an opening in the top panel sized to the TV width.
Attach a floating or hinged lid, then reinforce the base with plywood before mounting.
Pro Tip: Run a matching wrap-around baseboard along the bottom edge to hide the gap between the cabinet and floor, giving it a built-in rather than flat-pack appearance.
3. SEKTION cabinet hack
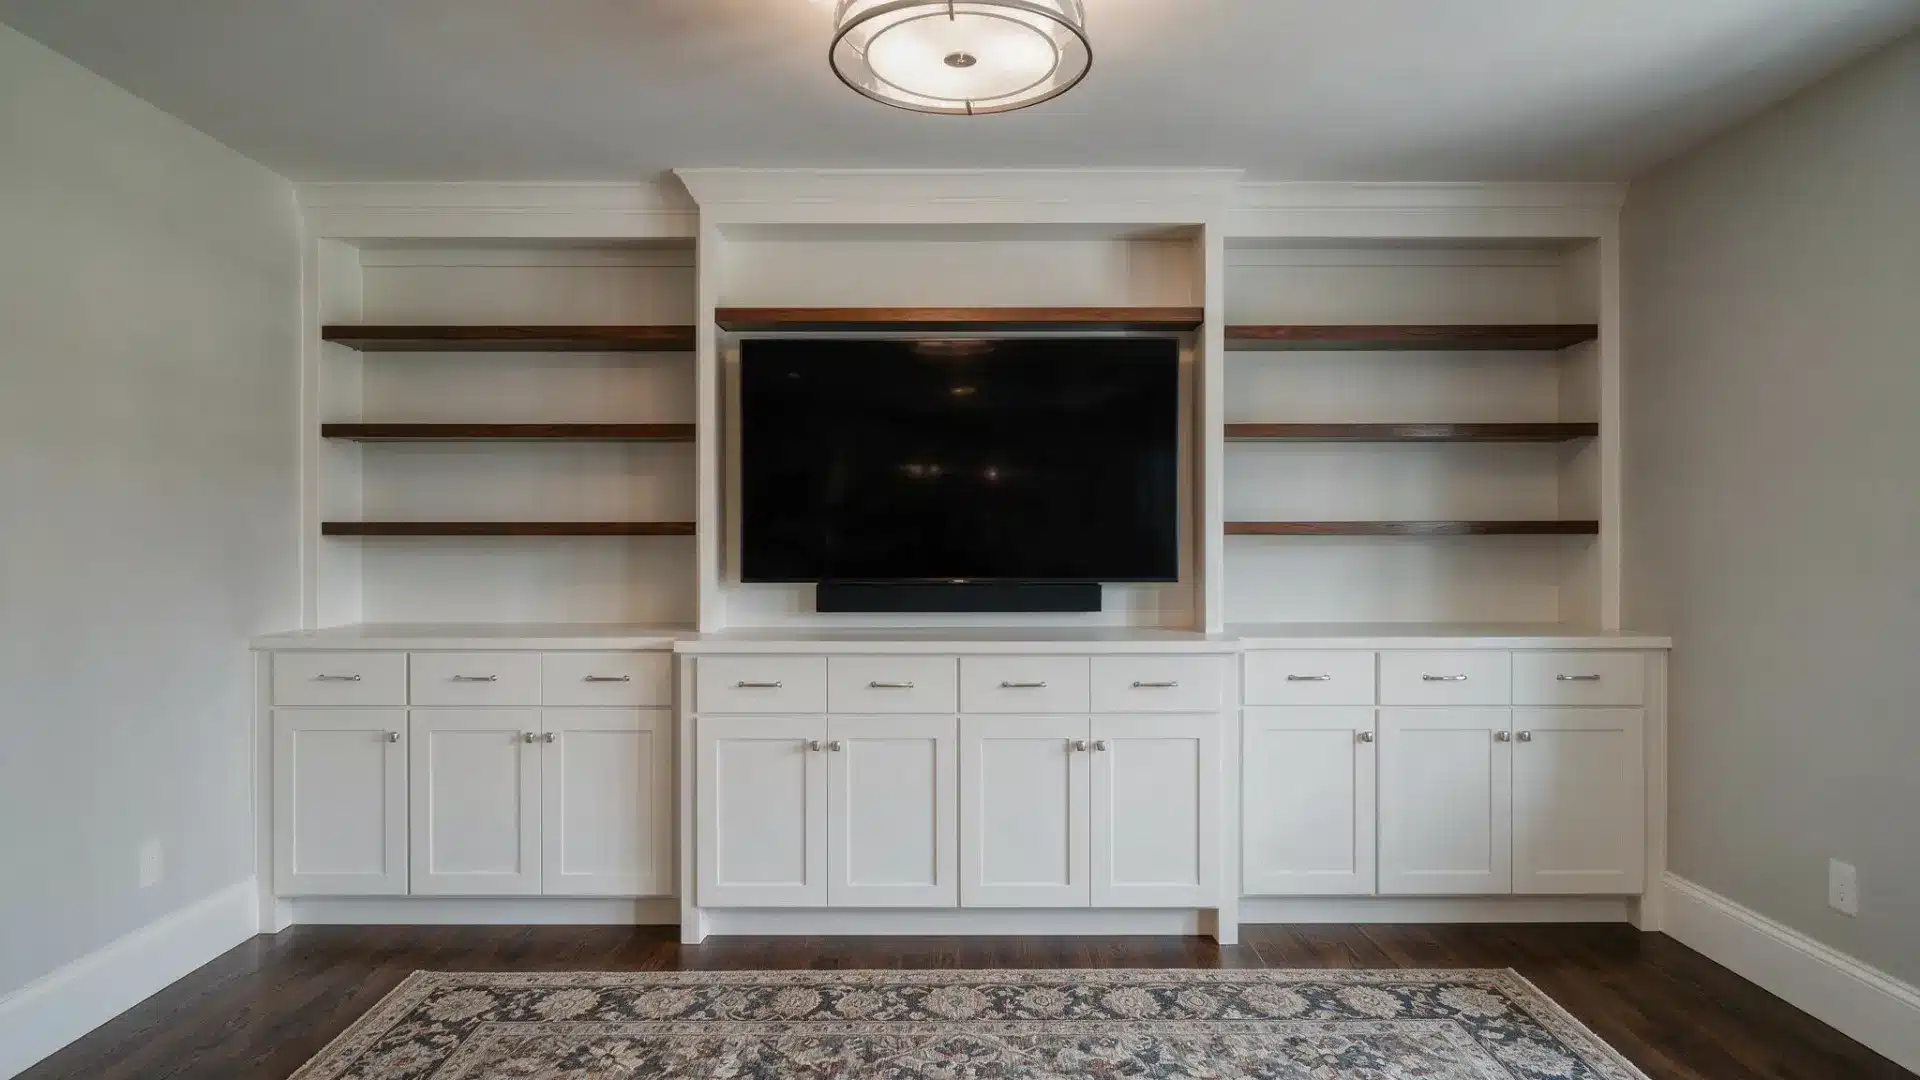
Depth Required: 8 to 10 inches | IKEA Products to Use: SEKTION cabinet frame, lift mechanism, reinforced base panel |
Estimated Cost: $350 to $600 | Best For: Larger TVs and open-concept spaces |
SEKTION‘s kitchen-grade frame offers more depth and strength than standard media cabinets. This makes it a solid pick for bigger TVs and heavier lift mechanisms.
Strip the interior shelving and drawer boxes to create a clear cavity.
Cut the countertop or upper panel for the lid mechanism.
Bolt the lift base into the cabinet’s reinforced bottom.
Pro Tip: Since SEKTION units are modular, anchor multiple cabinets together first, then overlay one continuous countertop like IKEA KARLBY across the whole run for a seamless look.
4. KALLAX cabinet hack

Depth Required: 6 to 6.5 inches | IKEA Products to Use: KALLAX unit, plywood base layer, lift mechanism |
Estimated Cost: $250 to $400 | Best For: Compact rooms or budget builds |
KALLAX shallow depth means extra reinforcement is almost always necessary for this hack. Picking the deepest available cube size helps reduce modification work.
Remove one internal divider to create enough depth for the lift mechanism.
Add a plywood base layer before mounting the lift.
Cut the top surface to fit the TV and allow clearance.
Pro Tip: Add decorative side trim panels to the exposed cube edges, since KALLAX’s boxy shape reveals its flat-pack origin more than other cabinet styles.
5. HAVSTA Cabinet Hack

Depth Required: 7.5 to 8.5 inches | IKEA Products to Use: HAVSTA cabinet, plywood reinforcement, lift mechanism |
Estimated Cost: $300 to $500 | Best For: Traditional or glass-front display styles |
HAVSTA glass-door versions look sleek when closed but need careful measuring since they limit how much bulk the lift can hide. Solid-door models offer more flexibility.
Remove the fixed shelf inside the cabinet to open space for the mechanism.
Reinforce the base with plywood before mounting the lift.
Cut the top panel to fit the TV and lid mechanism.
Pro Tip: Pair the glass-door fronts with a matching wood cap on top rather than the stock panel, so the traditional styling carries through to the lid itself.
6. MALM or SONGESAND dresser hack

Depth Required: 7 to 8 inches | IKEA Products to Use: MALM or SONGESAND dresser, plywood reinforcement, lift mechanism |
Estimated Cost: $300 to $500 | Best For: Foot-of-the-bed installations |
These dressers work well for bedroom setups where the TV needs to rise from furniture at the foot of the bed. Removing the upper drawer tracks keeps the piece looking like a standard dresser when closed.
Take out the upper internal drawer tracks to clear space for the lift column.
Reinforce the base with plywood before mounting the motorized mechanism.
Keep the lower or false drawer fronts intact to maintain the dresser’s original look.
How much does a budget-friendly IKEA TV lift cabinet cost?
Most builds land between $300 and $900; a fraction of what fully custom units run. Your cabinet base typically adds $100–$400, the lift mechanism $150–$500, reinforcement materials $30–$80, and hardware another $20–$50.
Premium lift systems can push totals toward $1,000–$1,500, so pricing out your mechanism early keeps the whole project on budget.
Costs vary based on lift quality, and premium or heavy-duty mechanisms can push the total closer to $1,000 to $1,500.
Pros and cons of an IKEA TV lift cabinet
Every DIY project comes with trade-offs, and an IKEA TV lift cabinet is no exception. Weighing these advantages and limitations helps decide if this build fits your space and skill level.
Advantages
More affordable than fully custom cabinets
Flexible IKEA styling options
Allows hidden TV storage
Can match existing furniture
Limitations
Requires modifications
Needs careful measurements
May require extra reinforcement
Installation difficulty depends on the furniture used
Things to consider before building an IKEA TV lift cabinet
Planning ahead prevents costly mistakes once the cabinet modification and lift installation are already underway. A few key checks make the entire process smoother from start to finish.
Measure TV height, total lift travel distance, and available internal cabinet space before making any cuts or purchases.
Provide a secure, reinforced mounting point for the lift mechanism, since it must support repeated weight and motion.
Leave removable panels and clear cable access so future repairs or adjustments don’t require tearing the cabinet apart.
Check wall and floor placement for stability and positioning, and hide any existing TV mounts or loose cables nearby.
Working through these factors early keeps the build safer and helps the finished cabinet function smoothly for years to come.
Conclusion
A TV lift cabinet IKEA build turns any ordinary storage piece into a hidden entertainment setup without a custom furniture budget.
Picking the right cabinet and mechanism matters more than fancy tools or advanced skills.
With careful measurements, solid reinforcement, and a bit of patience, this project fits almost any living room or bedroom layout.
The result is a clean, screen-free look whenever the TV stays off. Start with a cabinet that matches your space, gather your materials, and build your own hidden TV setup this weekend.
Have you tried building your own TV lift cabinet? Share your setup and tips in the comments below.
Frequently asked questions
Can a TV lift cabinet work with any TV size?
TV lift cabinets work with most standard sizes, though cabinet depth and internal width limit the maximum. Measuring your TV against the cabinet’s dimensions beforehand prevents fitting problems later.
What is a cabinet that can raise and lower a TV?
A cabinet that raises and lowers a TV uses a motorized lift mechanism hidden inside. The platform lifts the tv for viewing and lowers it when not in use.
Does a TV lift cabinet need a special power outlet?
No special outlet is required, but the cabinet needs access to a standard wall socket. An extension lead inside the cabinet keeps the connection neat and easy to reach.

